Let’s be clear right from the off, the item reviewed here was kindly provided at no cost to me by FlyGA. Beyond that, it’s not a paid for product placement and what follows is my personal experiences with the product.
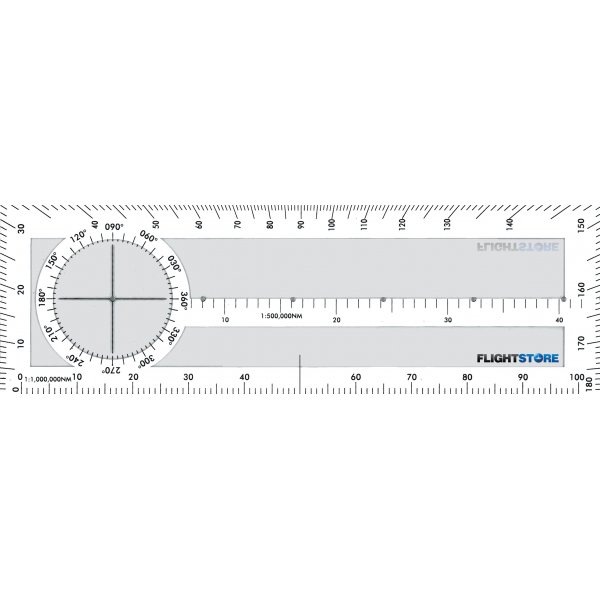
MR-1 Diversion Plotter
I currently fly with a Pooleys RNP-1 Plotter it lives in my kneeboard and I probably use it far more then you might expect, they’re great if you need to quickly come up with a Plan B – not just because of weather, sometimes the cafe is unexpectedly closed at your original destination and that bacon bap is now 20nm away on a 137 heading. Not an emergency, well, maybe a PAN… 🙂
The other reason I like plotters is they have a ruler and protractor combined, while probably only accurate to +/-2.5 degrees they’re handy for error checking original plans (you can get some interesting headings if you accidently put a protractor on a chart the wrong way round).
Fly GA: MR-1 Plotter
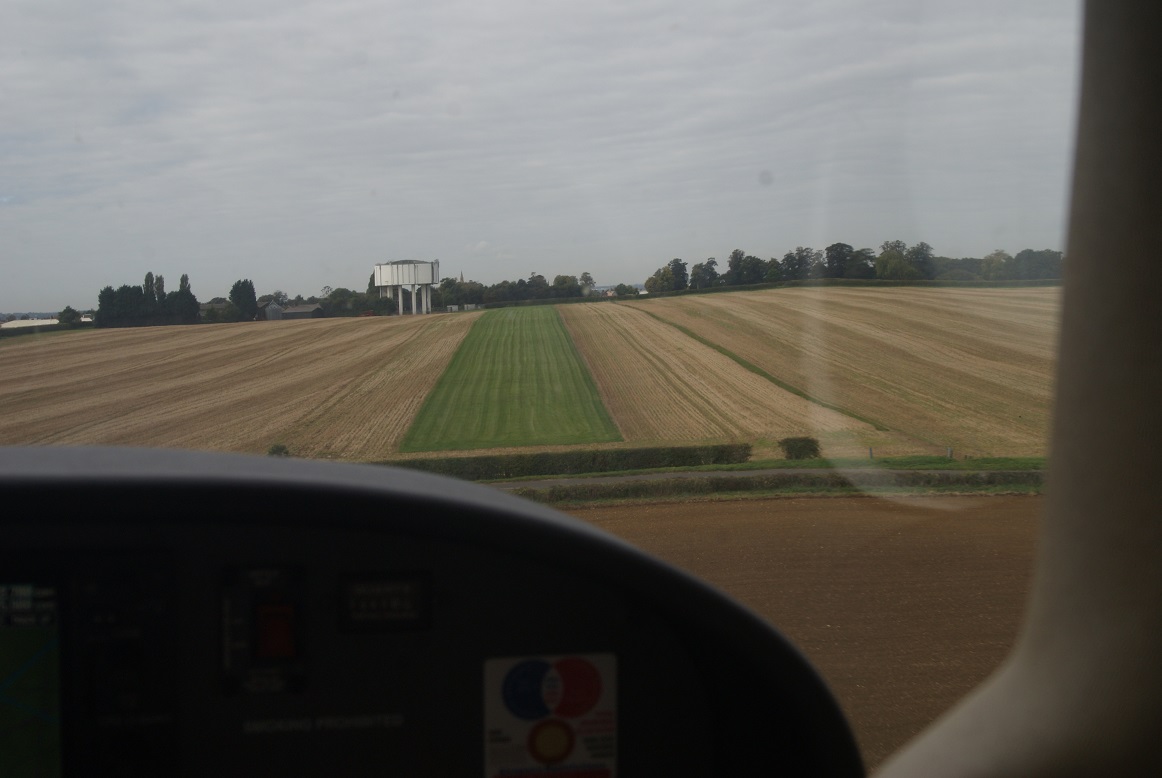
Planning a Flight with the MR-1 on hand
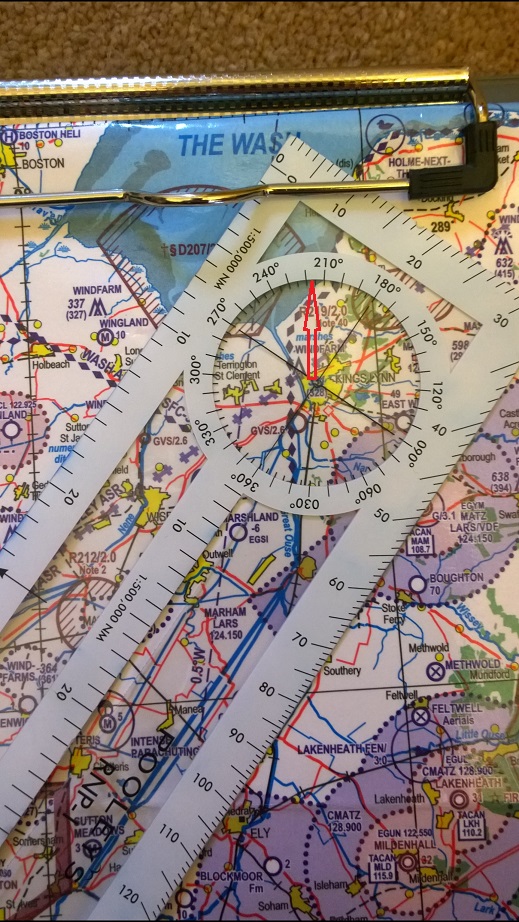
So is this one any good? Well to figure that out I decided to use it while flight planning a trip to Turweston. As you can see, even for a relatively straight forward flight from Cambridge with only a couple of small turns, I’m keen on spending some time at the kitchen table with all the manual driven toys planning out the flight.
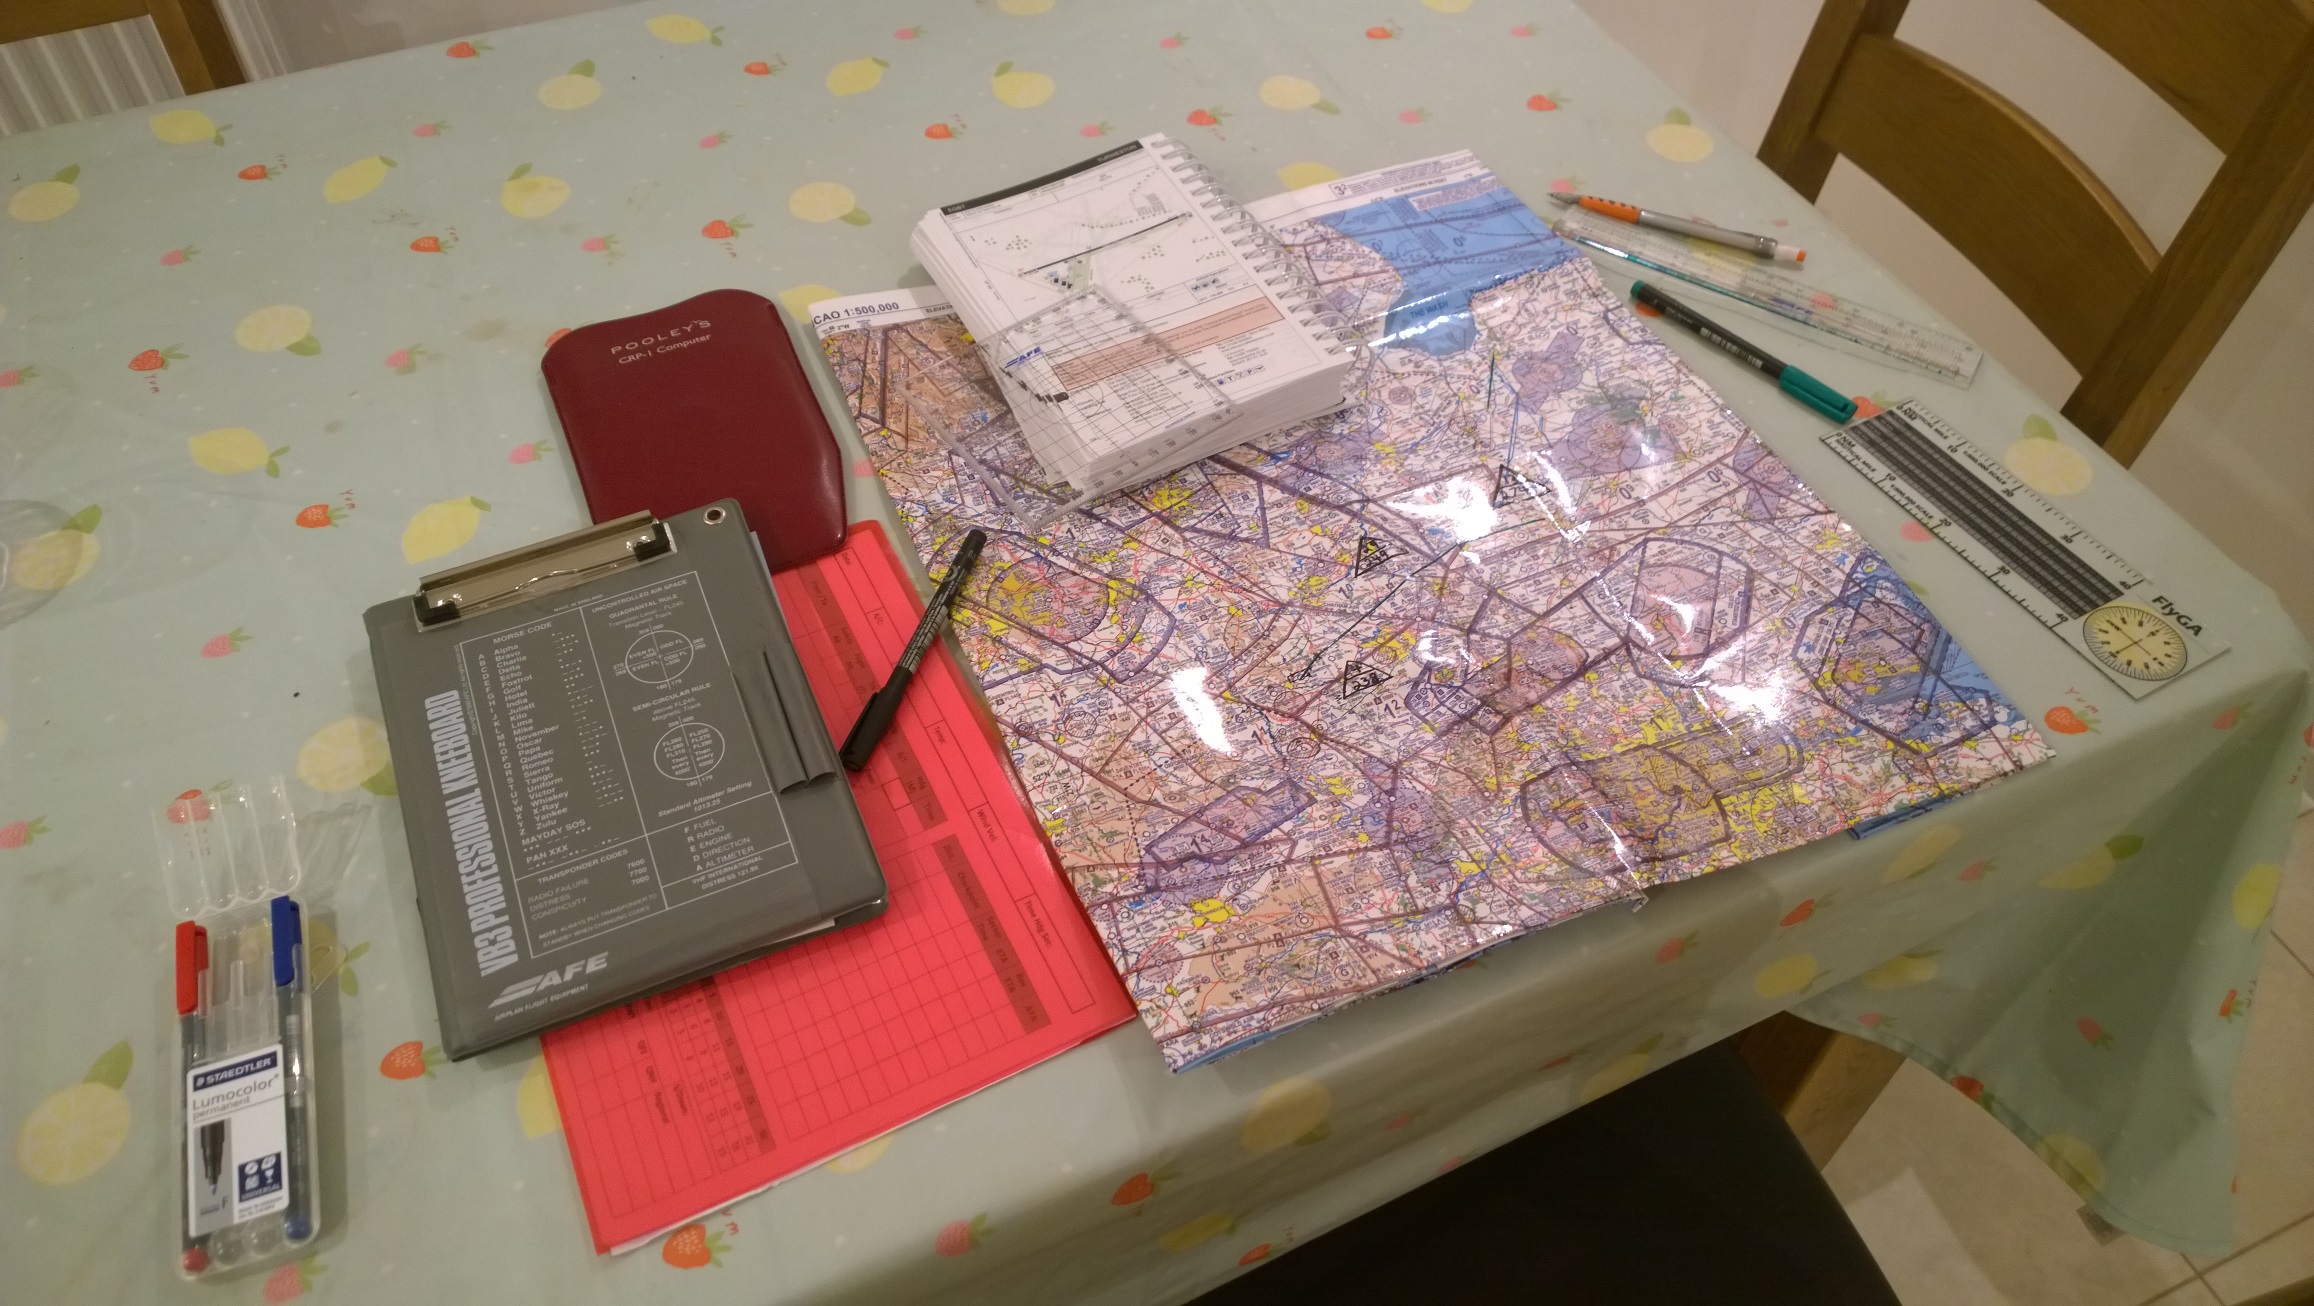
Planning Turweston Flight
You can see the MR-1 augmented with all the normal tools and I wanted to see how much I used things like the 6″ ruler or whether I found myself just using the MR-1.
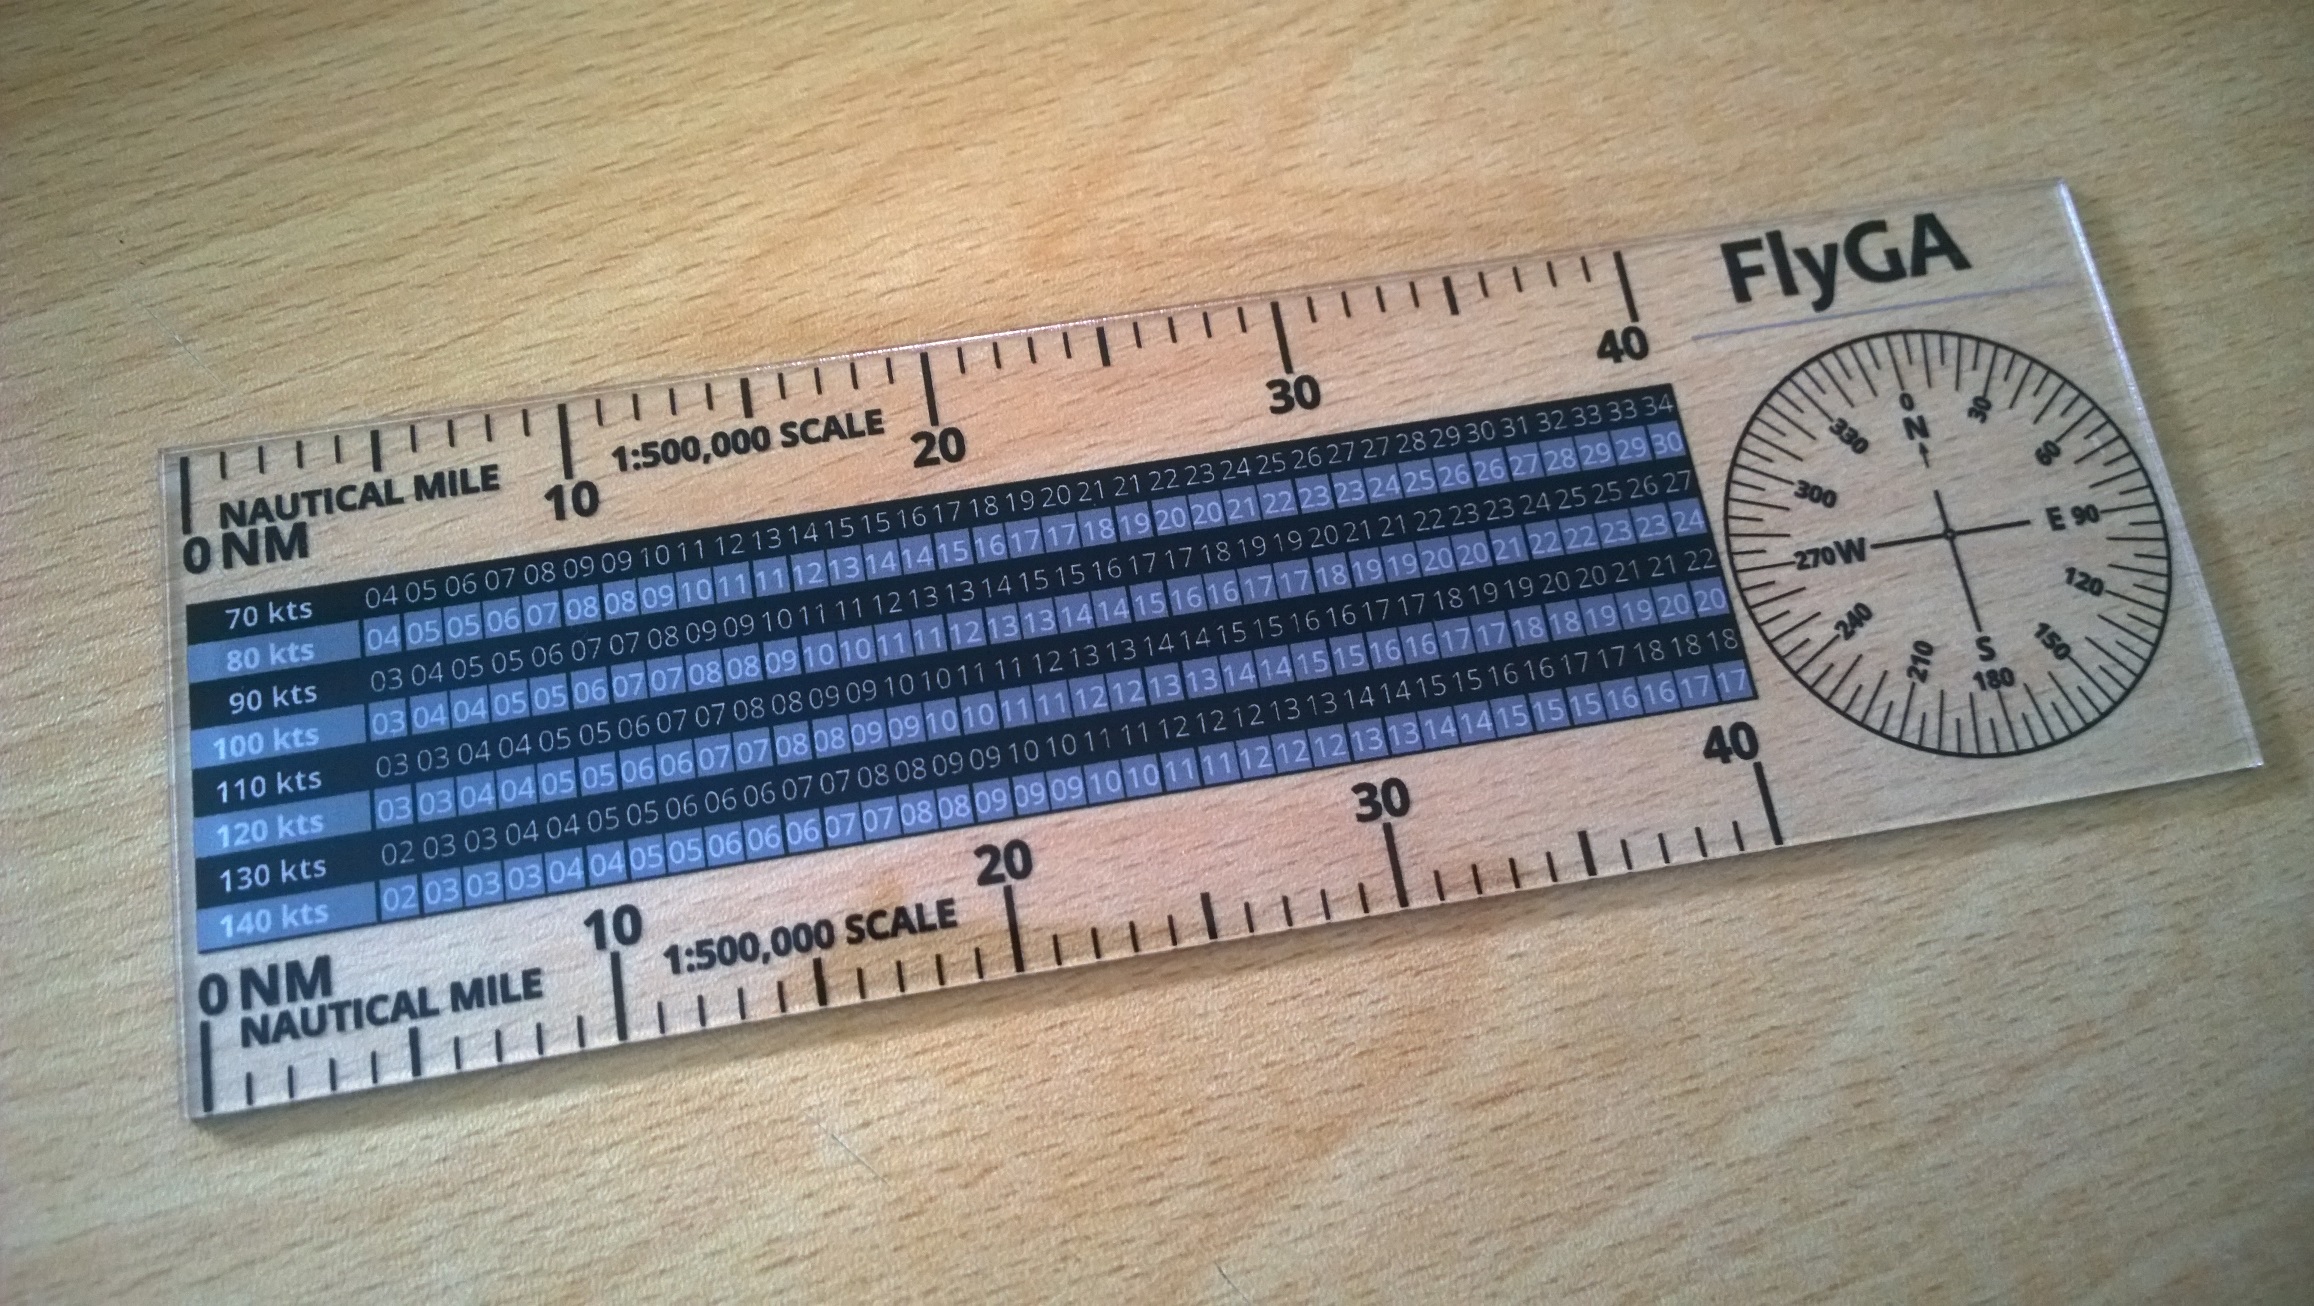
Here I found I really liked the clarity of the MR-1 ruler, the 1:500,000 scale markers for each mile, five mile and ten mile markings are really clear. On smaller rulers, 4 miles and 5 miles are differentiated by about 1mm of extra print on the line markings and you find yourself double checking if it’s 14nm or 15nm. The MR-1 marks every 5nm in a bolder black ink. I also like that the ruler doesn’t waste space with empty plastic at the edges.
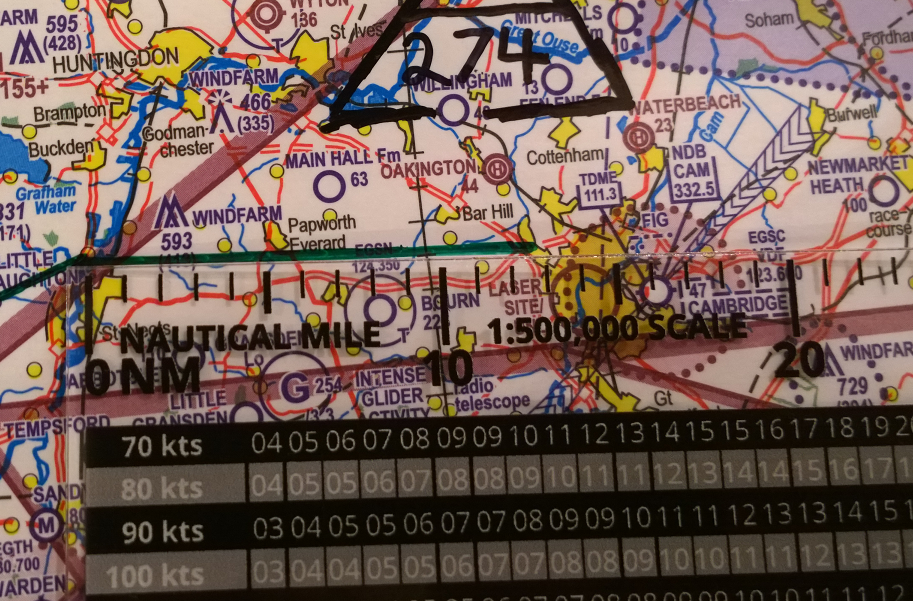
MR-1: 1:500,000 Ruler
One thing that will annoy and possibly make it unusable for helicopter pilots though is that there’s no 1:250,000 scale. Now this can be a bit of a religious war topic, but as I understand it helicopter pilots have to use a 1:250,000 scale chart during their skills test and those I’ve spoken to tend to lean on the 1:250,000 charts much more then fixed wing pilots do (they generally fly lower and slower). So if you use 1:250,000 charts then this plotter is a no go for you. Personally I find planning tools that try to be all things to all people a pathway to mistakes and human error. “Oh I had the ruler on the wrong scale……that’s why my ETA was wrong.” That sort of thing. I do think FlyGA should address this gap because even I’ve recently got a 1:250,000 map and seriously contemplating switching (post on why to follow), but I actually would encourage them to fix this with a 1:250,000 version of the product and not try and bung on different scales. Look at the Pooleys RNP-1 as an example, it’s all scales to all users and get it out of your kneeboard the wrong way round and bang you’re on the wrong scale. For every argument, there’s normally a counter argument though, what if you swap charts mid-flight. Personally I ponder if anyone does this! But again, maybe helicopter pilots do – but as I say for my usage, I’d much rather there be a 1:500,000 version and a separate 1:250,000 version rather than a mash of ‘how many scales can we squeeze on a bit of plastic’.
There are striking resemblances between this plotter and the Digital Innovations DP-1. The best I can tell this is the thinking behind the layout of their protractor.
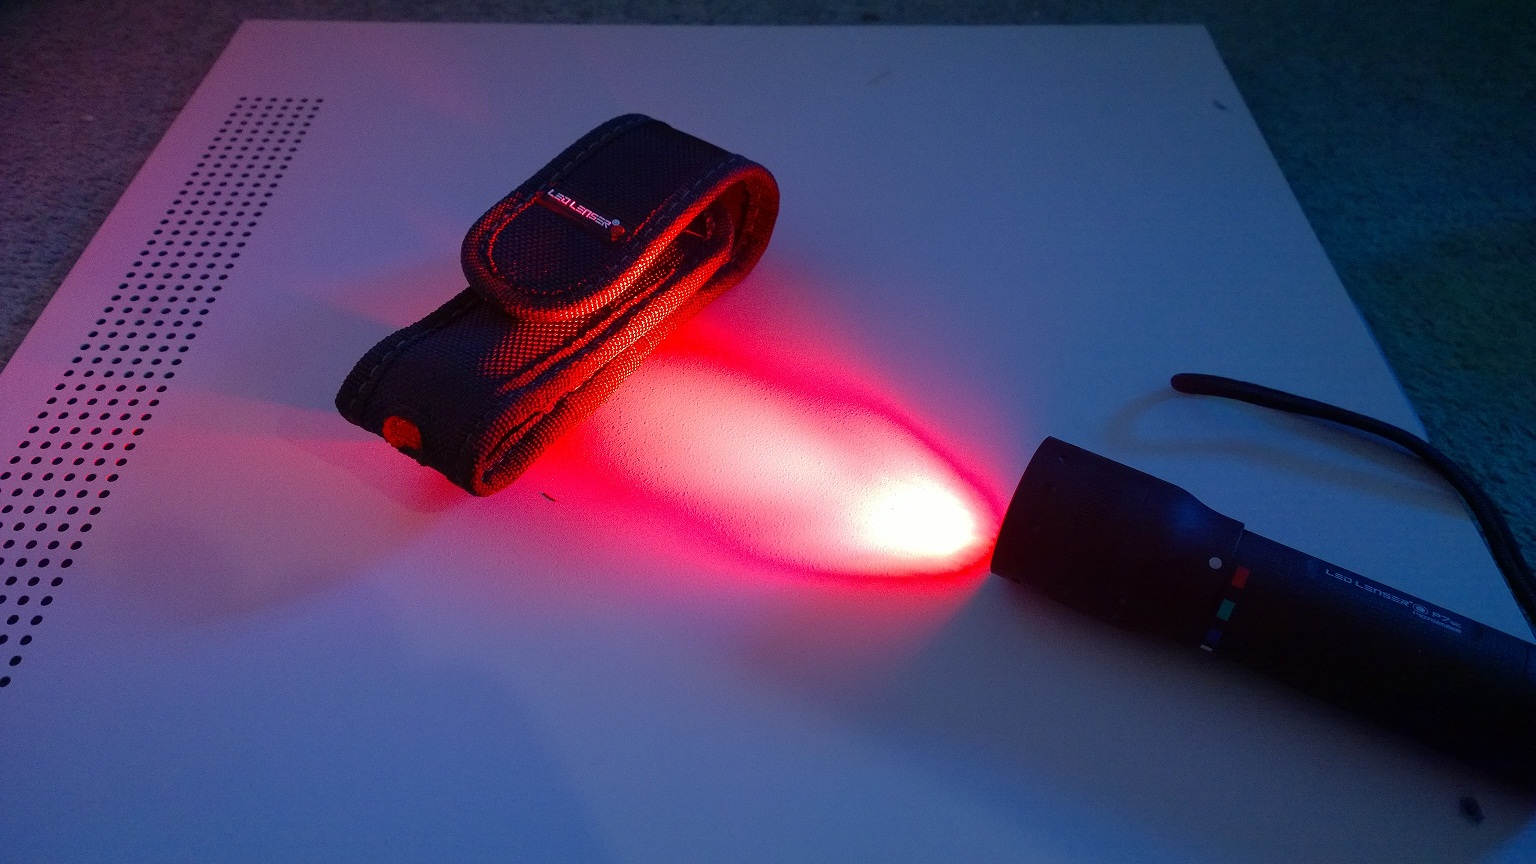
Protractor / Diverting
RNP1: Divert
To understand why I really don’t like the protractor layout on the MR-1, I need to first show you a typical in flight diversion (but equally a rough ground planning exercise).
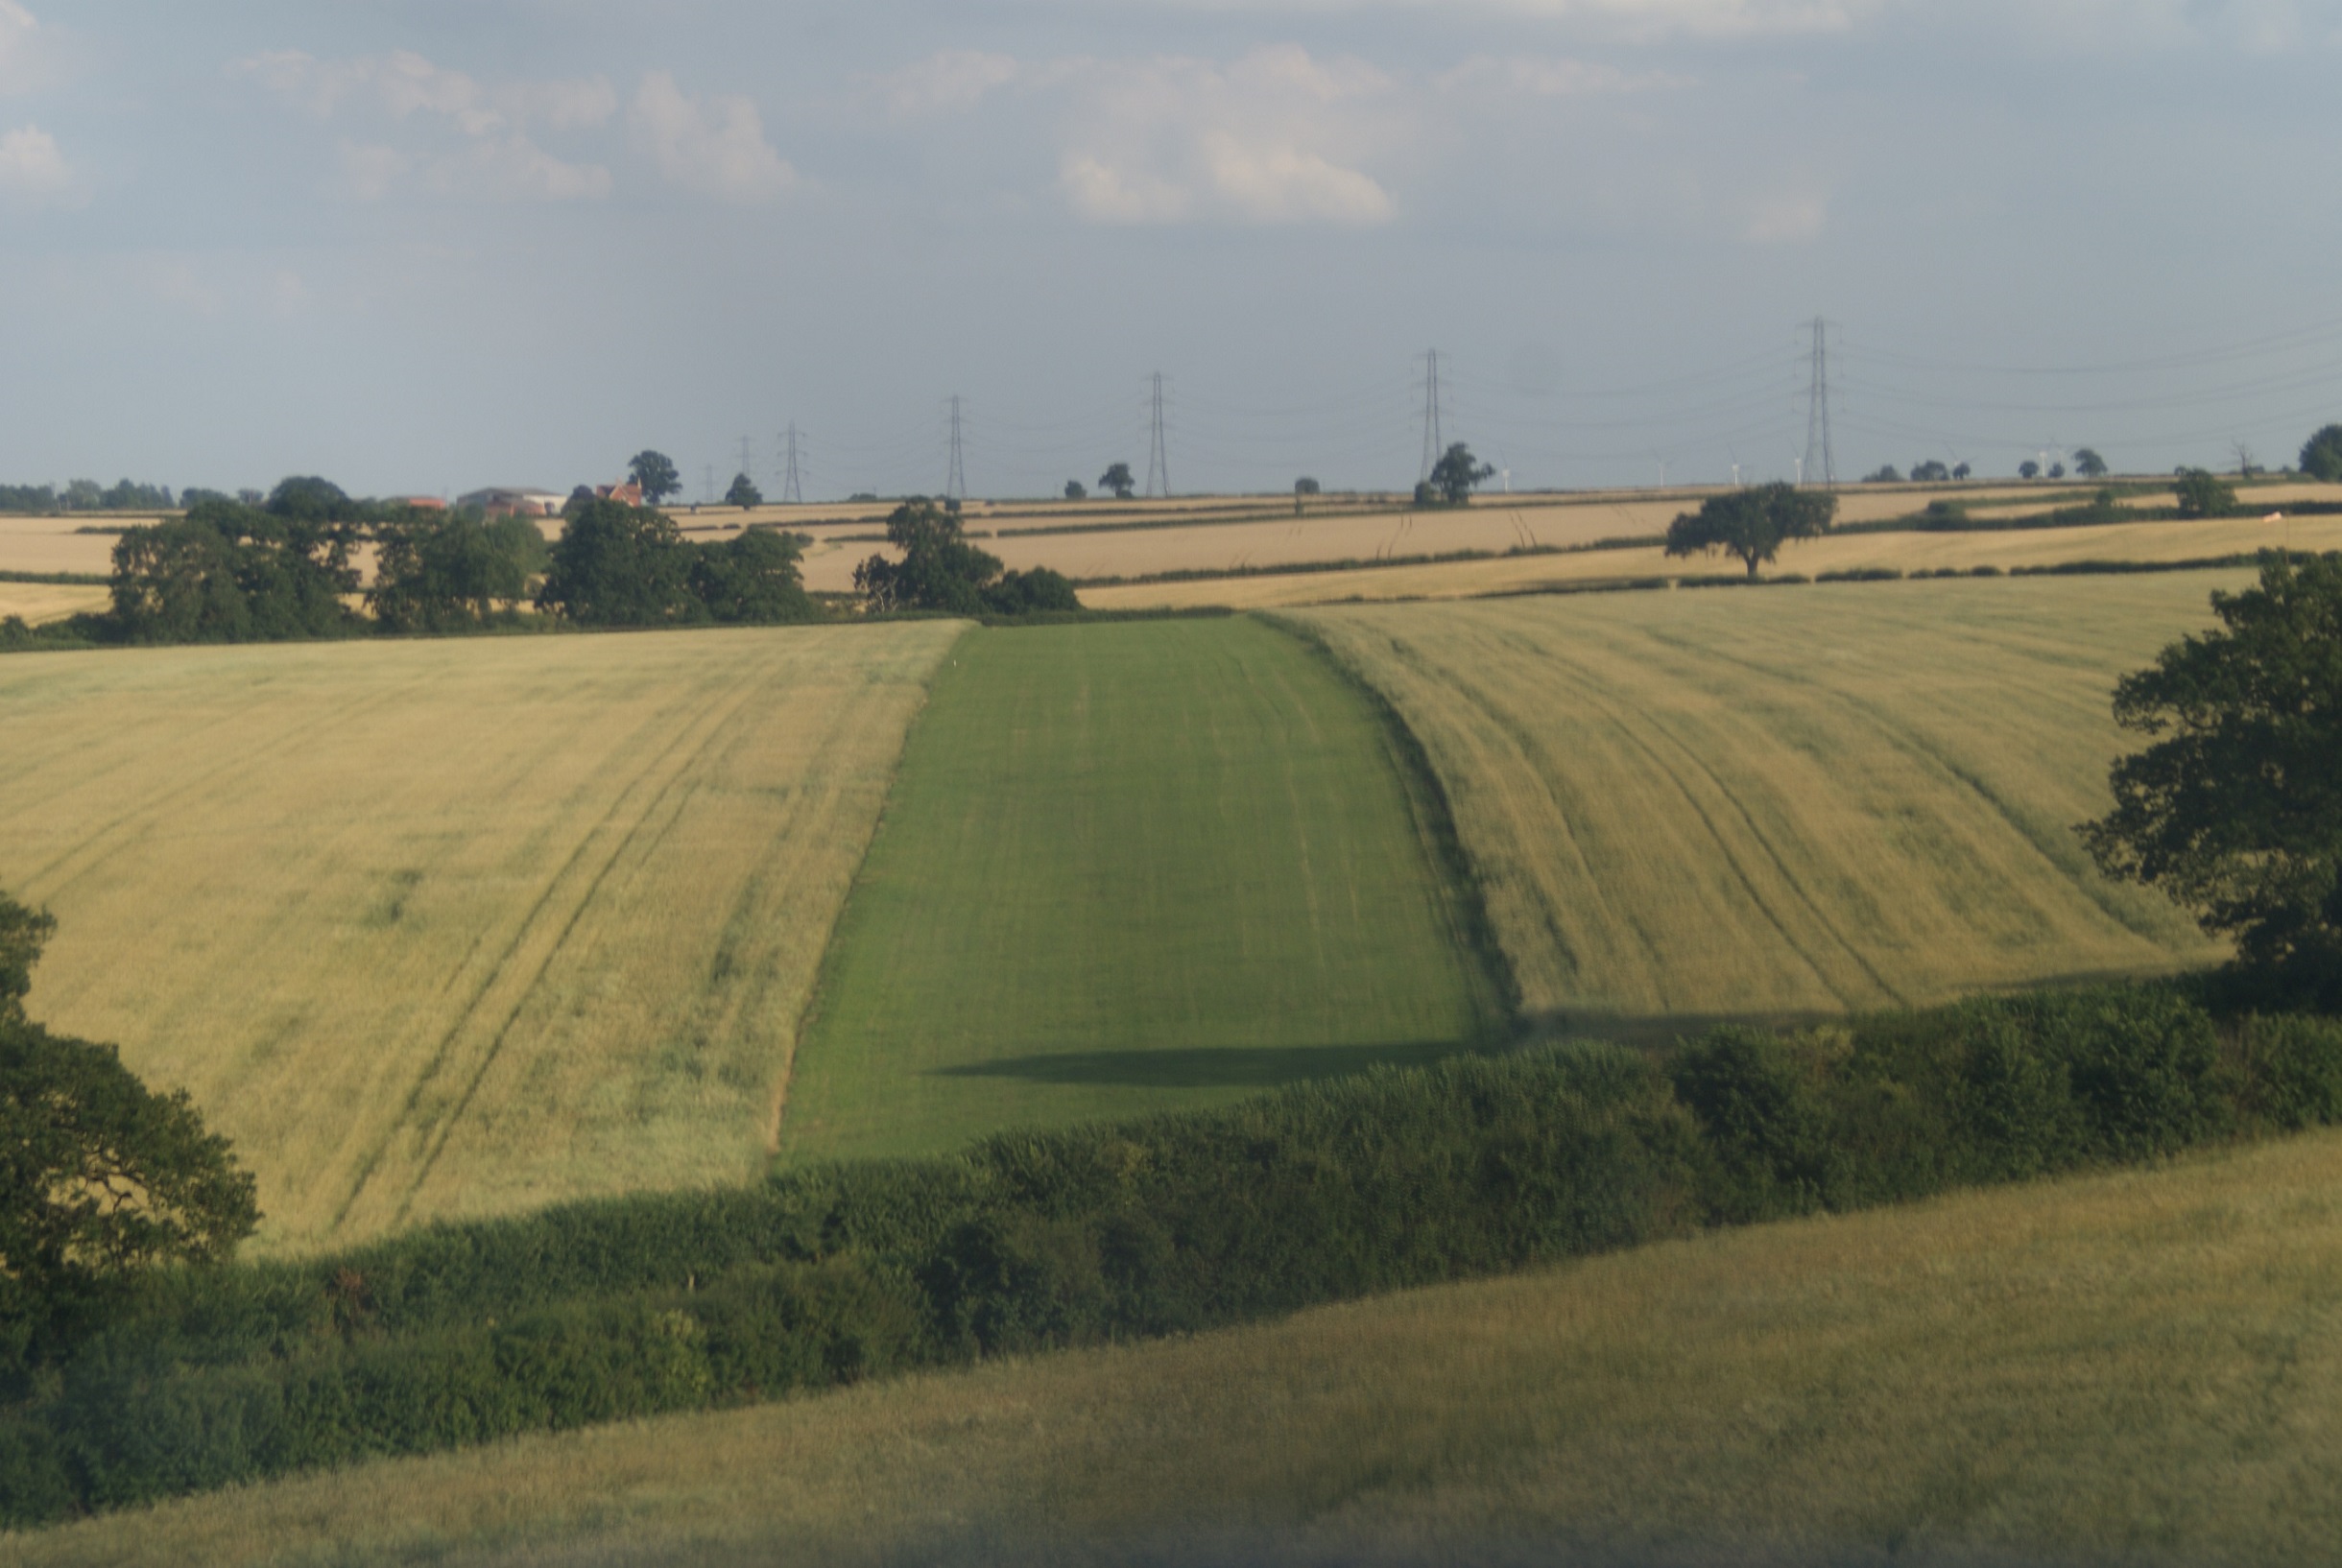
Let’s say you’re plotting a route from Kings Lynn to Outwell near Wisbeach.
On an RNP-1, you put the plotter on the chart, turn it to where you want to go. You can now draw a line in the centre gap with pen if you want (but critically, we don’t have to!), then read off the distance of 11nm and at the top of the RNP-1 is your heading to fly, due to the size of the protractor we can tell the heading is a bit less than 220 degrees, 217 something like that. You don’t want to do long distance on this approximate heading but the error over 10nm will be negligible.
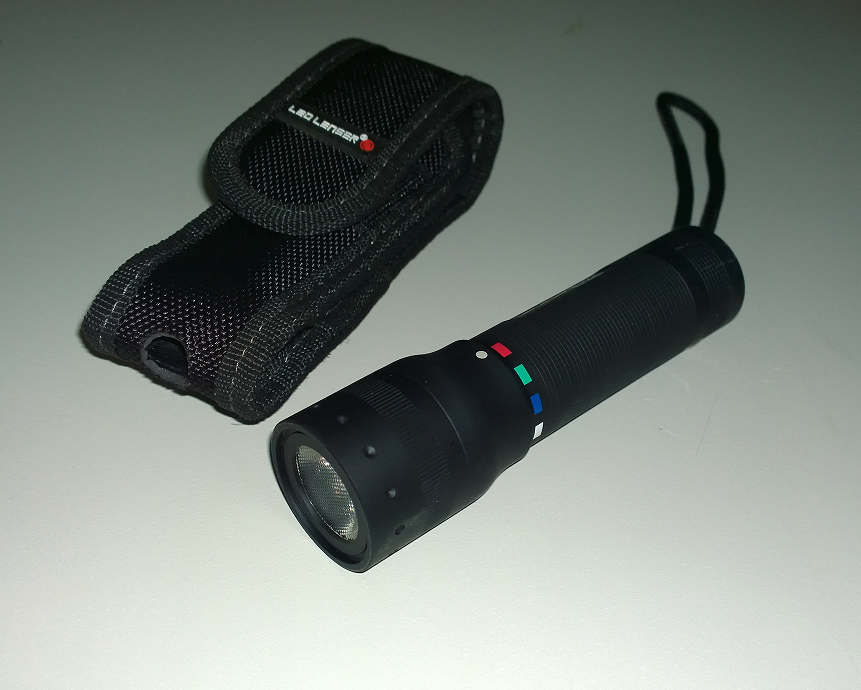
Now let’s look what happens with the MR-1 if we were to use it for a similar sort of in flight diversion.
What we find is that because the protractor is in a “North Up” orientation, the same trick doesn’t work. Firstly rather obviously, we cannot see where we intend to go because it’s covered up on the map by the speed/distance table.
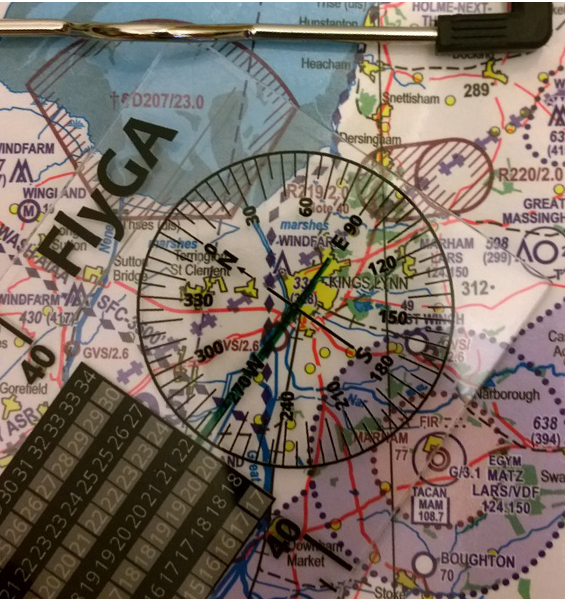
MR-1 Divert
The “North Up” orientation means the heading cannot be read off the protractor while it is held in this orientation. Look at the top and it’ll indicate ~60 degrees, if you read off the heading from the direction you want to go, obviously this will also be wrong.
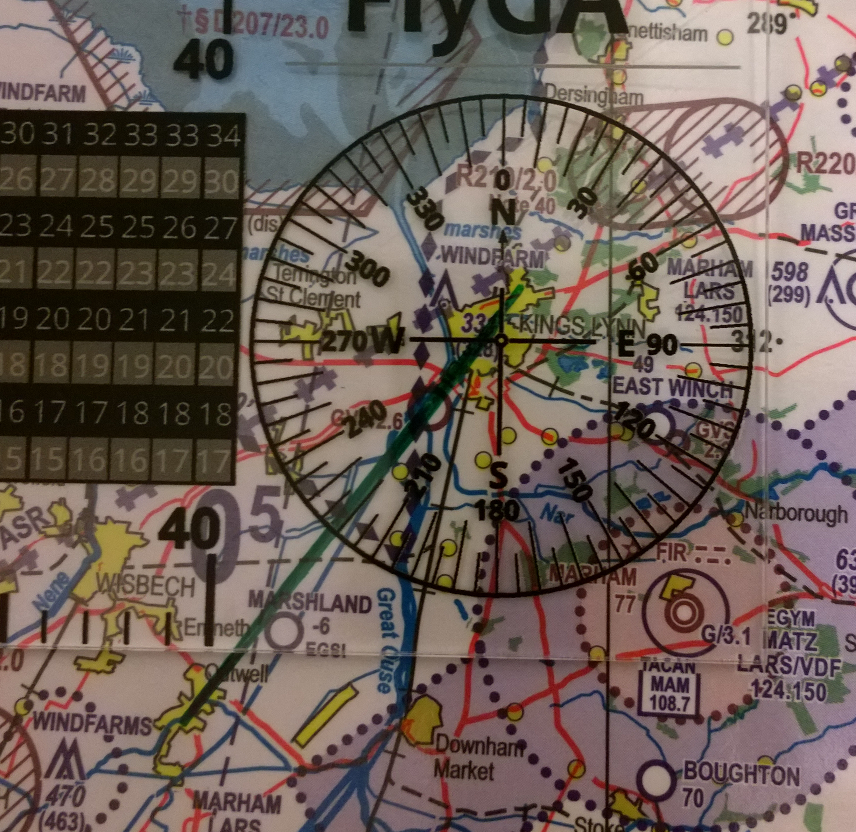
MR-1 Correct Heading Use
So to do a diversion with this plotter you’re forced to get a pen out, draw a line between your two points. Then you can use the protractor in its normal orientation to read off a heading. Now you might think “well that’s not too bad”, but what if this is not a diversion you’re trying to do, for getting a position fix with a VOR/DME the MR-1 is going to be problematic to use.
However it’s worth mentioning that if you are using it to plan a diversion and it’s a proper diversion whereby you know where you’re going to divert to, can draw it on the chart and then work out a heading. Then the increased size of the protractor over smaller plotters such as the RNP-1 means that you’ll get a more accurate heading. So worst case instead of being +/-5 degrees, you’ll be more like +/-2.5.
It’s not found a place in my kneeboard because while I can see it being useful for the diversion part of your skills test or any proper diversion you intend to do. I can’t help feel you’ll be reaching for another tool for the position fix aspects of the test and that’s perhaps one too many tools to be carrying around. On the ground I like its larger protractor and found it a handy tool to have on the table.
Speed/Distance Tables
The very keen eyed reader might notice that on my PLOG sheets in the red coloured folder, there’s a speed/distance table printed. It’s something I’ve put in since early days of my flight training.
These days I rarely use it because my Torgoen T07302 watch has an E6B flight computer on it and this is quicker for Speed/Distance calculations. However, if you don’t have such a watch then such Speed/Distance tables are very useful things to have.
It has a wide range of airspeeds (70 – 140 knots), so applicable to anything from a slow 152 to a Tecnam P2010 and will allow you to quickly look up how long it’ll take to cover any distance up to 40nm at any airspeeds in 10 knot intervals.
MR-1: 1:500,000 Ruler
I really like how the times are accurately lined up with the distance measurements on the ruler, so there’s no other scales to be faffing with (I suspect this also explains why the ruler doesn’t have a 1:250,000 scale)
Here I personally think less might be more.
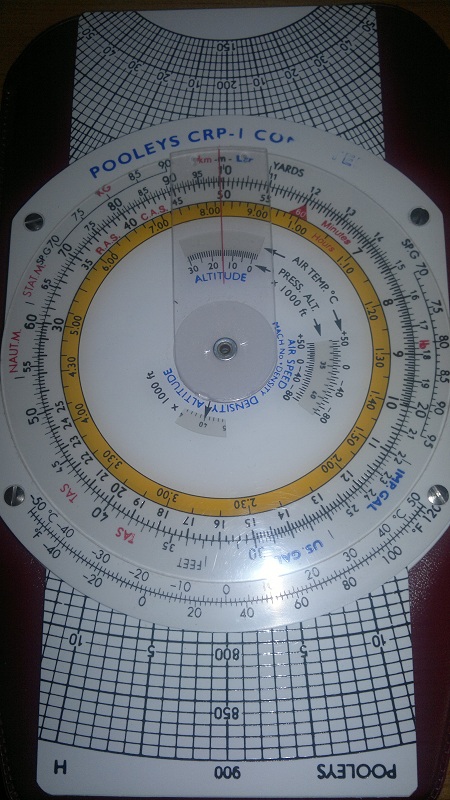
At 100 knots the time required to cover 20 nm (about the maximum distance you want per leg of a VFR route) is 12 minutes, but at 90 knots it’s 13 minutes and at 110 it’s 11 minutes. So do you really need all these airspeeds? Such tables are really only good for approximation of ETA because if accuracy relative to a true ground speed is your concern then it’s likely that once you’ve corrected for wind you’ll get a speed that requires interpolation (or a CRP-1 Flight Computer) anyway.
It would therefore be arguably better if 70, 100, 130 were the only scales and this might then free up some space in the middle to allow the map to be seen through the middle. I can of course appreciate that Cessna 152’s cruise at 90 knots and if this is your cruise speed then you’d be complaining it wasn’t on the scale. Having an ETA that is 60 seconds earlier than the actual ETA isn’t often a problem though because with 60 seconds to run your destination is on the nose, or you’re properly lost!!! 🙂 As discussed earlier, attempting to be all scales and all things, for all aircraft just clutters up such tools. Simplifying it and making the middle transparent would be an improvement in my opinion.
General Design
The MR-1 is made of a semi-flexible transparent plastic, it’s more rigid then an RNP-1 plotter, but more flexible then an AS-2 or your typical planning ruler. It feels like it’ll last you easily long enough to forget how much it cost (£11.49). The markings are slightly raised on the underside, which gives a good feel and a sense that the markings aren’t going to fade any time soon.
On the version I got the edges are a little bit rough as you run your fingers off the edges and because of the MR-1 is approx. 1.6mm thick the square edges can at times feel a bit sharp. It’d be nice if the edges could be rounded off just slightly in a future version, nothing serious just to take the points off (similar to what you’d find on an AS-1 or AS-2 type ruler for example).
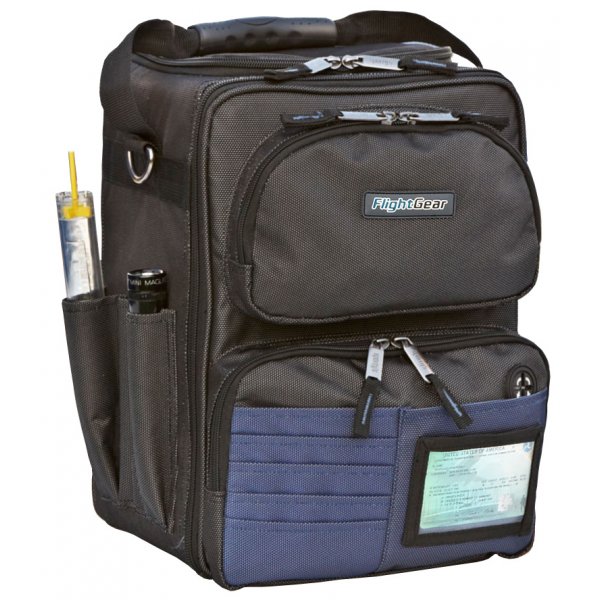
The length, being less than 6″ means it does fit in the pockets of flight bags (especially my relatively small Flight Gear bag) really nicely.
Conclusion
As a ruler it’s brilliant, better than an AS-2 because it quickly lets you see approximate timing data and isn’t as cluttered with different scales (this assumes you need a 1:500,000 scale). That said, it does for me have too many airspeeds in the middle.
I personally wouldn’t use it as my ‘go to’ in-flight diversion / position fix tool of choice and this means I suspect it’ll never find a home in my kneeboard.
The RNP-1 drives me a bit crazy with constantly spinning it round to do rough planning on the ground though so I think I’ll definitely carry this in my flight bag for those days when there’s a change of plan on an land away and the route back needs a quick re-think without getting all the toys out and spending an hour planning it out.
The price is the wrong side of ten pounds if it was my money, but it’s mostly a psychological thing. The cost of this plotter is in the noise relative to an hours flying, but logistically it’s a bit of a logistical grumble you can’t buy it from the major stockists and so can’t chuck it in with an order of new pens or when you buy your next chart etc. Hopefully though that will come in time.
Fly GA have been kind enough to send me samples of their other kit, so over the coming days look out for my reviews of that and also a review of their new exam practice website.